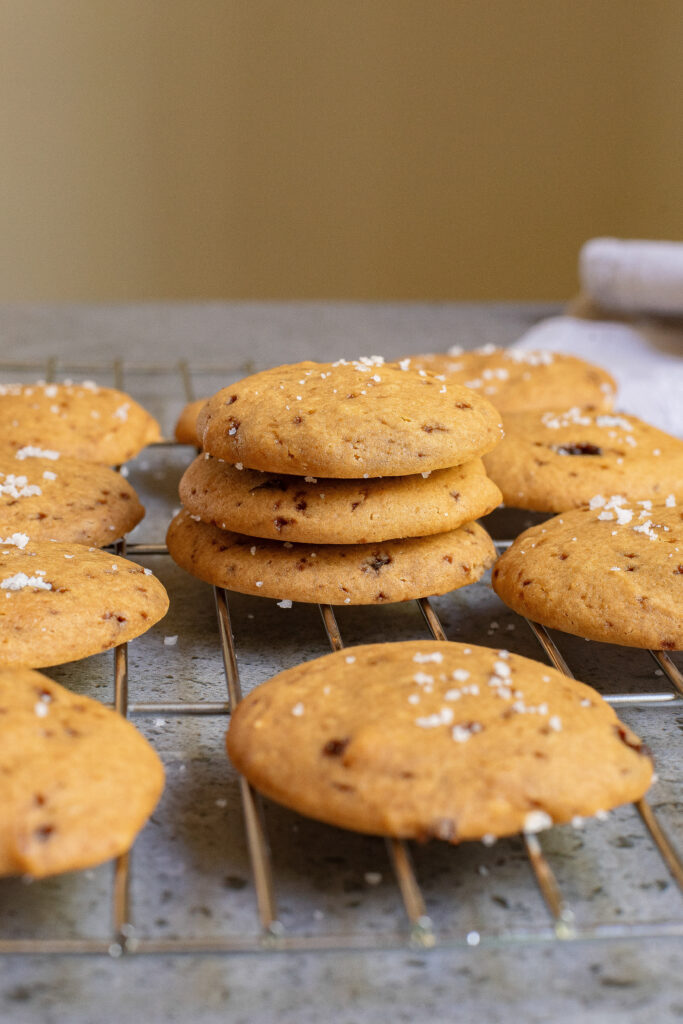
If you like the sweet-and-salty balance in a soft cookie, these Salted Honey Cookies are worth a spot in your baking rotation. Made with simple ingredients you likely already have, this easy recipe strikes the perfect balance of rich sweetness and light saltiness in every bite. The honey adds depth, the sea salt sharpens it, and a hint of cinnamon rounds everything out.
This post contains affiliate links. As an Amazon Affiliate, if you purchase through those links, I earn a commission. Thank you!
These cookies hit the spot when I need something everyone can enjoy, whether it’s a simple dinner, a weekend hangout, a game day spread, or a gift. They don’t require anything fancy, yet somehow, they still feel a little special once shared. You can prep them in advance, keep them fresh on the counter, or freeze them for later. They hold up well and are always a crowd-pleaser.
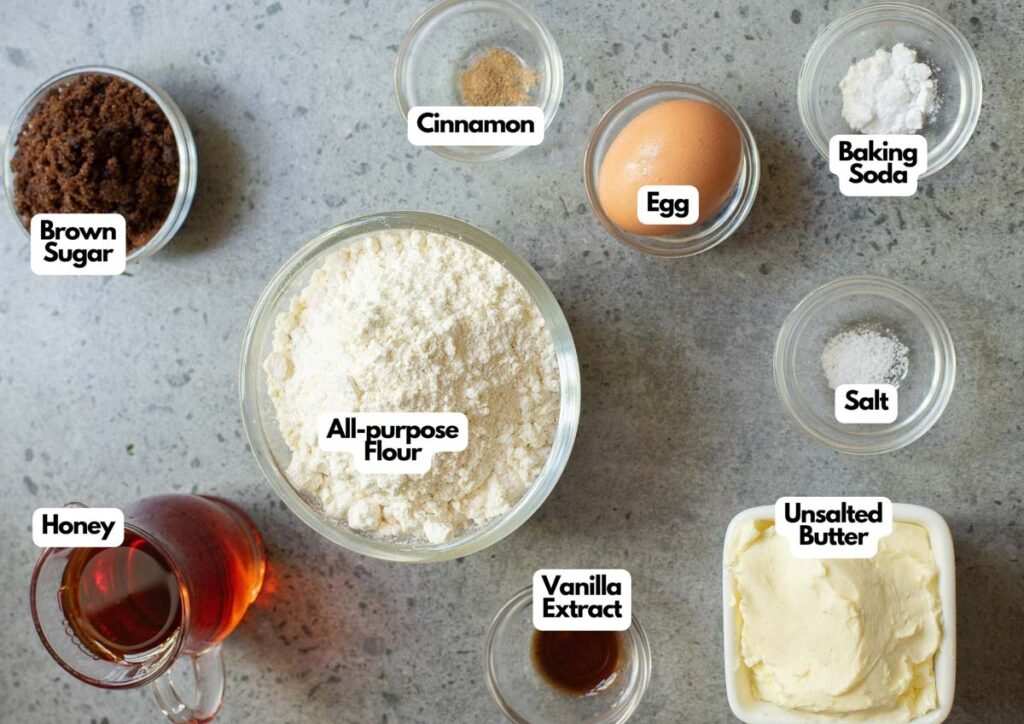
Ingredients You’ll Need
You’ll need all the ingredients shown in the photograph below.
How to Make Salted Honey Cookies with Step-By-Step Instructions
Scroll down for the full recipe card containing a full printable recipe and measurements in both US customary and metric units.
You’ll find making salted honey cookies simple and rewarding if you follow my easy, clear steps from start to finish.
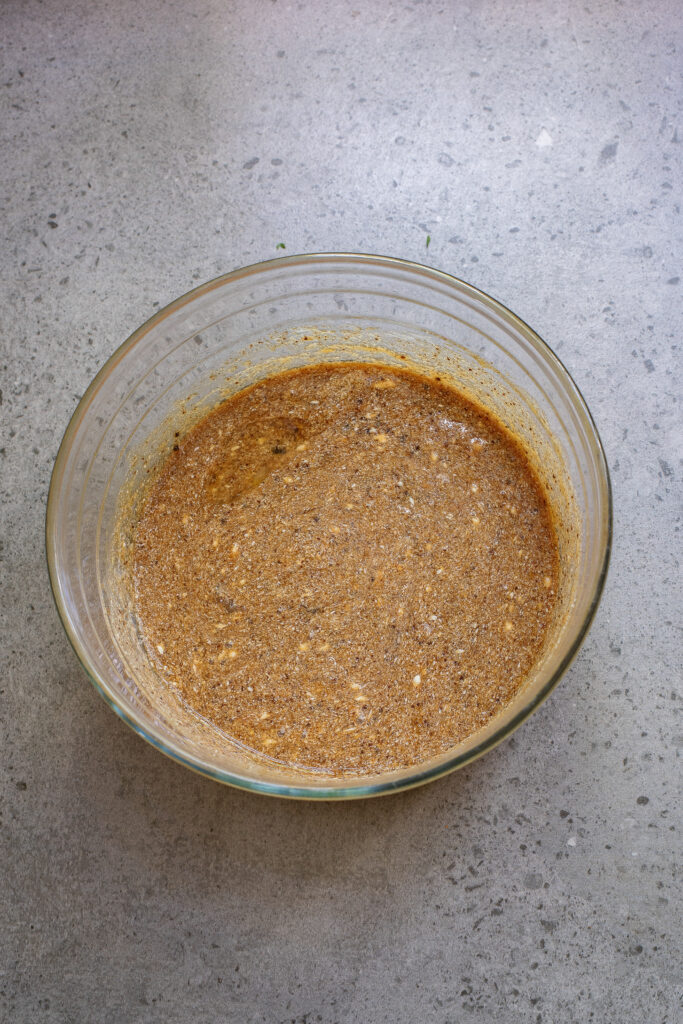
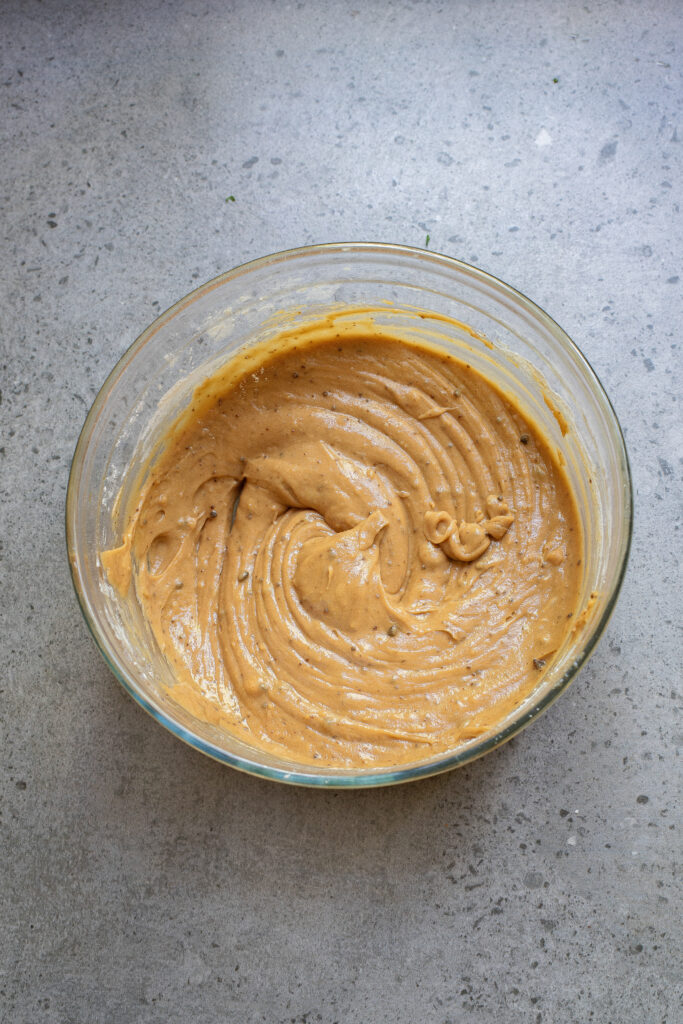
Cream the Wet Ingredients
In a large bowl, or using a stand mixer fitted with the paddle attachment, beat together the softened unsalted butter, honey, and brown sugar on medium speed until the mixture looks light and fluffy. This step sets the foundation for soft, chewy cookies.
I use this stand mixer with a deep mixing bowl; it handles the creaming effortlessly and gives me plenty of space to cream everything without splashing. Add the egg and vanilla extract, and continue blending everything until the wet mixture is smooth and well combined.

SERIOUSLY GOOD
DESSERTS!
Dessert First is a collection of 61 RECIPES to show you that you can make beautiful, impressive desserts right in your own kitchen, no matter your skill level.
Immediate eBook download. No physical book available.
Includes ad-free recipes like:
∙ Lemon Pound Cake
∙ Starbucks Cake Pops
∙ Boston Cream Pie
∙ Chocolate Mousse
∙ Matcha Tiramisu
...and much more!

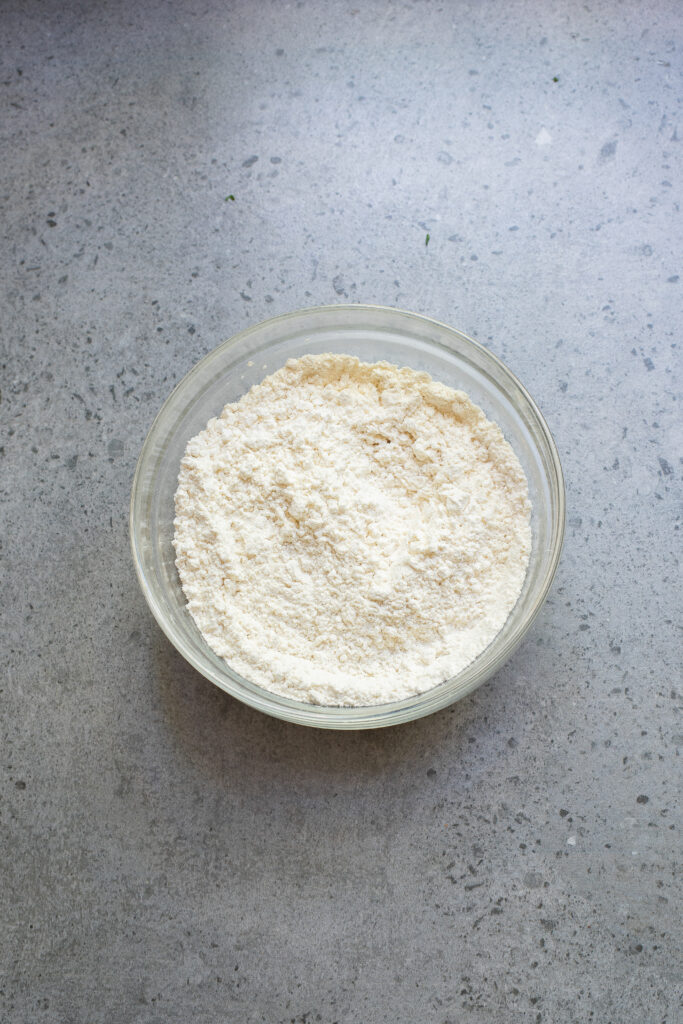
Mix the Dry Ingredients
In a separate bowl, whisk together the all-purpose flour, baking soda, salt, and cinnamon, if you’re using it. The cinnamon adds a subtle warmth that complements the honey and gives the cookies a cozy, spiced undertone without overpowering them.
I like using this stainless steel balloon whisk as it works well to get all the dry ingredients evenly combined. Slowly add the flour mixture into the wet mixture, and switch to low speed or stir by hand with a spatula.
Go just until a soft dough forms—don’t overmix, or the cookies can turn out dense instead of tender. A flexible silicone spatula like this one makes it easier to fold the dough without overworking it.
Chill the Dough in the Fridge
Cover the bowl and refrigerate the dough for 30 minutes. This step is key to getting the right texture, and since the dough has honey and softened butter in it, chilling helps it firm up so the cookies don’t spread too much in the oven.
I like using this mixing bowl set with lids so I can just snap on the cover and pop it straight into the fridge. If your bowl doesn’t come with a lid, you can just stretch a layer of clingy plastic wrap like this over the top to keep things sealed and fresh while it chills.
It deepens the flavor, makes the dough easier to scoop, helps the cookies hold their shape better as they bake, and gives them a better chew. Skip it, and you’ll likely end up with cookies that are flatter and less structured.
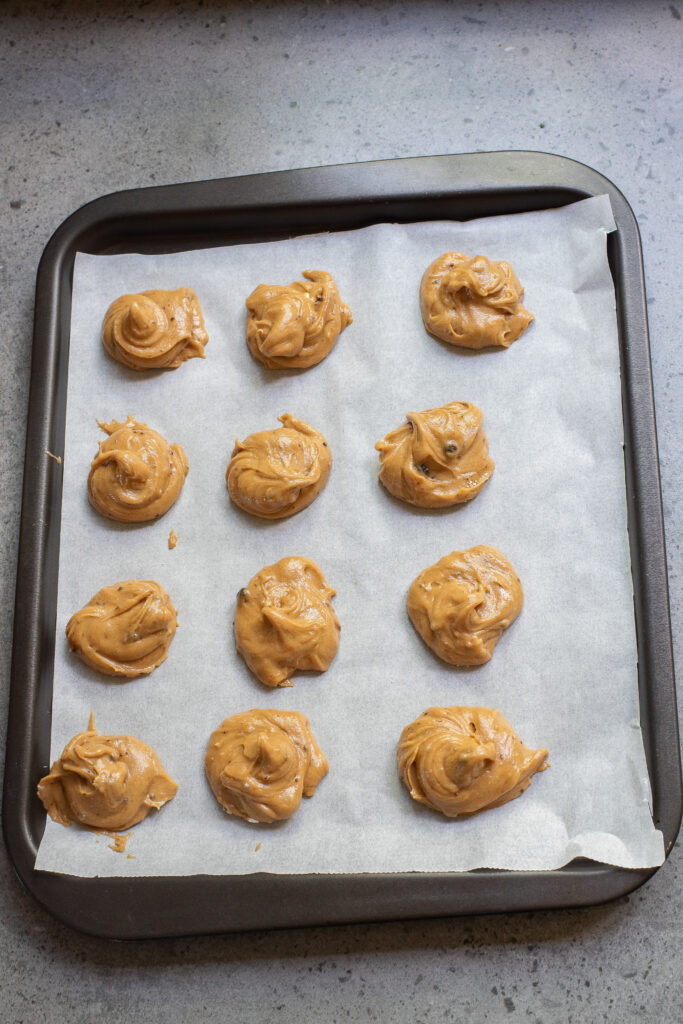
Bake the Cookies
Preheat your oven to 350°F (180°C) and line a baking sheet with parchment paper to prevent sticking and make cleanup easier. I rely on this cookie sheet that helps cookies bake well, and these pre-cut parchment sheets to make things quick and hassle-free.
Scoop out tablespoon-sized portions of cookie dough and place them on the prepared baking sheet, spacing them about 2 inches apart to allow room for spreading as they bake. I use this cookie scoop to keep all the cookies the same size so they bake evenly.
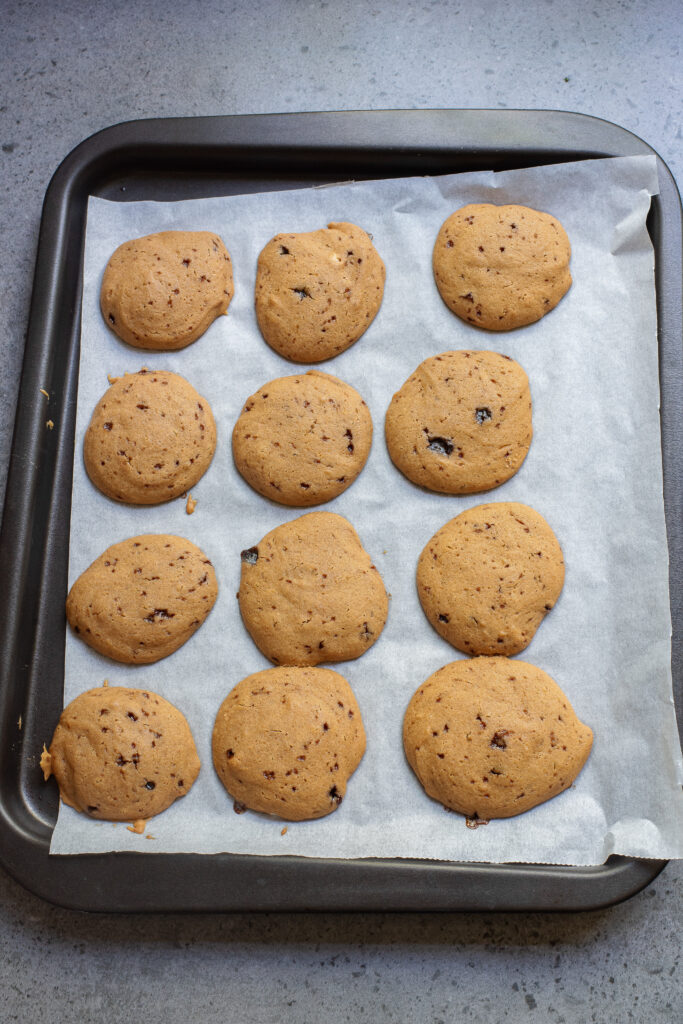
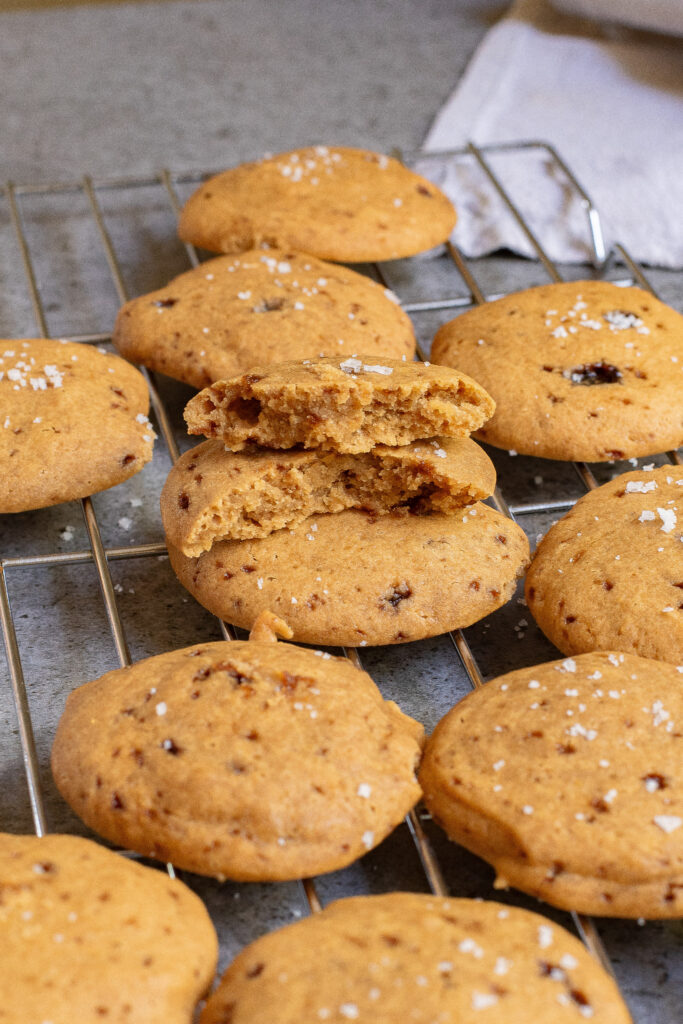
Bake for 10–12 minutes, or until the edges are lightly golden and the centers are just set; they’ll finish firming up as they cool, so don’t wait for them to brown all over. If you do, you’ll lose their chewy texture.
Add the Finishing Touch
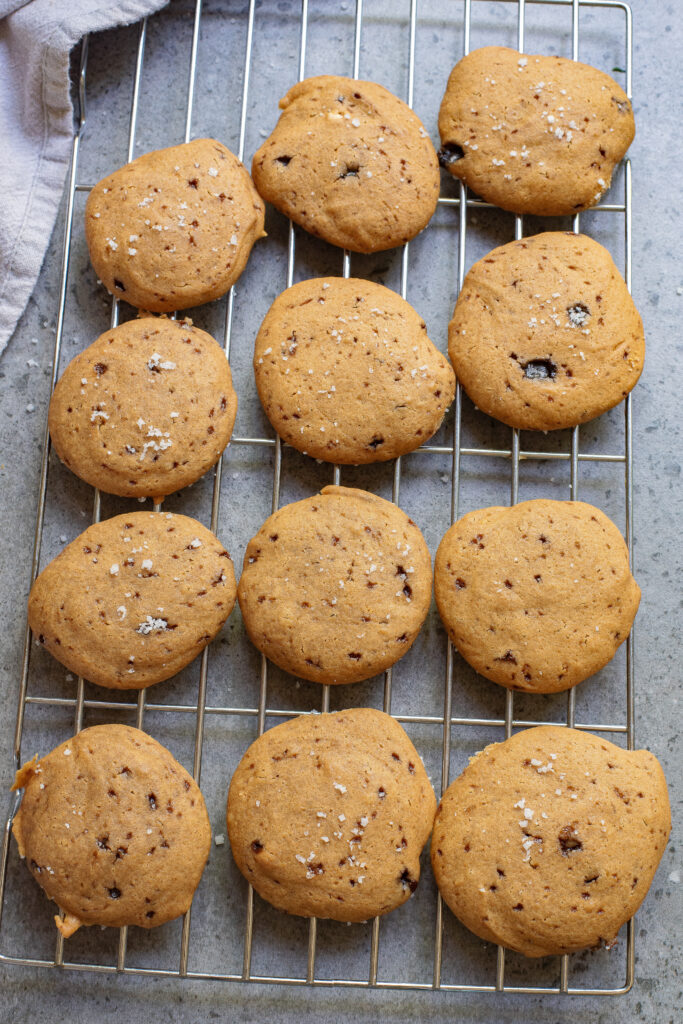
As soon as the cookies come out of the oven, sprinkle a little flaky sea salt on top while they’re still warm so it sticks better. This garnish enhances the overall flavor and gives you its signature sweet-and-salty bite.
You may notice small dark specks in the cookies, which might look like chocolate or fruit, but they’re not. These spots are likely from caramelized honey, undissolved bits of brown sugar, or flecks of cinnamon if you included it. They’re completely normal.
Let the cookies cool on the parchment-lined baking sheet for 5 minutes before moving them to a wire rack to finish cooling. If you move them too soon, they may break apart or lose their shape, since they’re still too soft right out of the oven. They’ll firm up as they rest.
I let mine on this cooling rack, which allows airflow underneath so the bottoms don’t get soggy as they set.
Serve and Enjoy
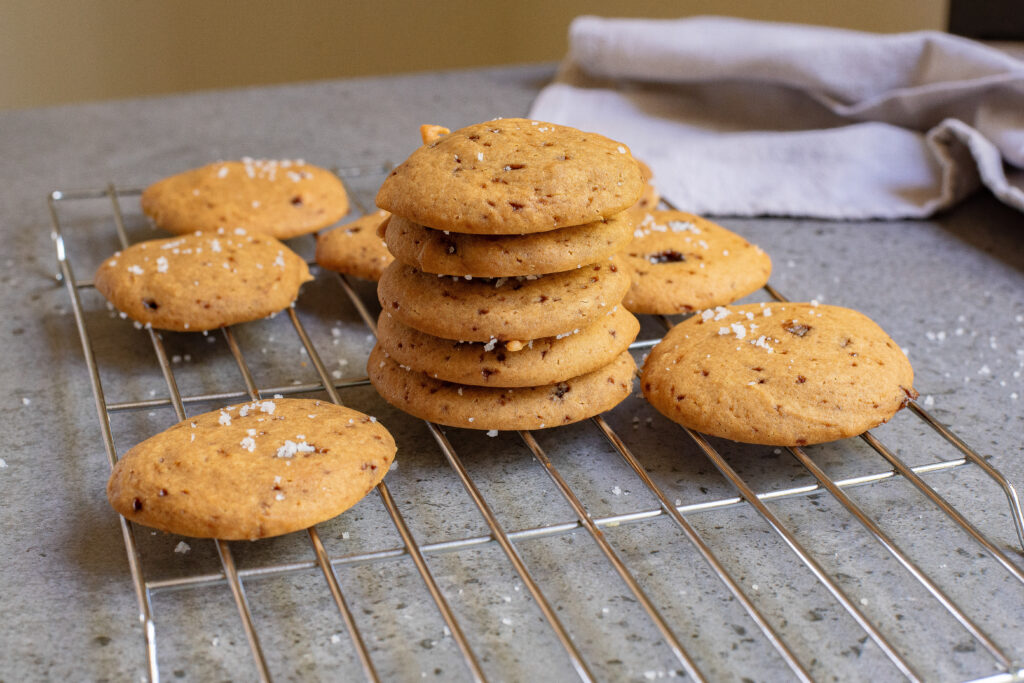
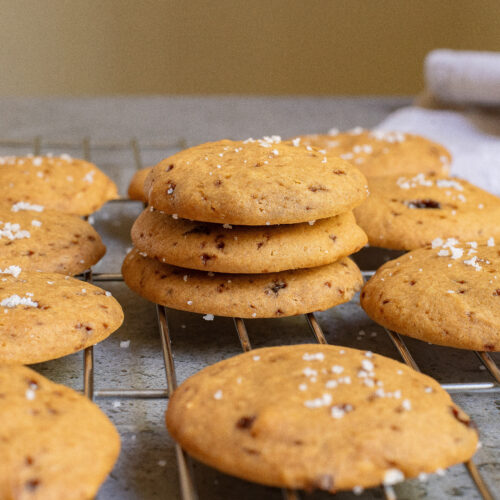
Once cooled, serve the cookies as they are or with a cup of coffee, tea, or milk. Enjoy!
If you’re taking a batch to a friend’s place or sharing them at a weekend get-together, pack them into a portable storage container like this so the cookies don’t break while you’re heading over. Then slide the container into an insulated casserole carrier to help keep the cookies at a steady temperature during the ride.
And if you’re giving them as gifts, I like packing a small stack in a hard-sided giftable kraft box like this—it’s sturdy enough to protect the cookies and looks sweet with a ribbon.
Recipe Notes and Expert Tips
I’ve picked up a few reliable tricks along the way that make baking these cookies even better.
- Use softened butter: Let your butter sit at room temperature so it creams easily with the honey and sugar, giving your dough a smoother texture.
- Choose good quality honey: Clover honey is a great option—it’s mild, blends easily, and keeps the cookie flavor balanced.
- Spoon and level your flour: Too much flour can make the cookies dry—use the spoon-and-level method instead of scooping directly from the bag.
- Try pistachios in the dough: Their subtle crunch and mild nuttiness complement the honey flavor without stealing the spotlight.
- Go sweeter if you want: White chocolate chips pair nicely with honey and give the cookies a rich, buttery sweetness.
- Scoop evenly: A cookie scoop ensures consistent sizes so everything bakes evenly and finishes at the same time.
- Bake on the center rack: For even heat distribution, place one baking sheet at a time in the center of your oven.
- Remove while still slightly underbaked: If you wait until they look fully baked, they’ll likely be overdone once cooled and turn out dry. Let the residual heat from the pan finish the job—it’ll continue baking the cookies gently, keeping the centers moist and tender.
How to Store Leftovers
Once completely cooled, store your cookies in an airtight container at room temperature for up to 3-5 days. They’ll stay soft and chewy if kept sealed properly. I like using this glass cookie jar for the counter because it looks nice and keeps the cookies fresh. If I want something that stacks better in the pantry, I go with this locking storage container to seal in the softness.
You can also freeze them for longer storage. First, flash freeze the cooled cookies in a single layer on a baking sheet until firm, then transfer them to a freezer-safe container or a resealable freezer bag, layering with parchment paper to prevent sticking.
I rotate between this freezer-safe food container and this set of heavy-duty freezer bags depending on how many I’m storing—both keep them protected from freezer burn and stacking damage.
They’ll freeze well and beautifully for up to 2 months. Just let them thaw at room temperature or reheat in the oven for about 5 minutes before serving.
What to Serve With Salted Honey Cookies
These cookies pair well with a hot cup of tea, coffee, or even an iced latte. Enjoy them as-is for an afternoon treat, or try them with a spoonful of peanut butter on top for a salty, savory, and creamy boost that plays well with the honey.
They also make a great topping for vanilla or honey ice cream, and they’re a nice addition to dessert boards when you want something homemade that’s not too rich or heavy.
More Easy Recipes for You to Try at Home
I’ve got a few more fuss-free, low-effort, and high-reward treats like this salted honey cookies recipe if you’re looking to keep the baking momentum going.
Did you make this recipe? We’d love to know! Please leave a 5-star review below (it really helps!) and tag and follow us on Pinterest and Facebook for more tasty inspiration!
Salted Honey Cookies
Equipment
Ingredients
- ½ cup unsalted butter softened
- ⅓ cup honey
- ⅓ cup brown sugar packed
- 1 large egg
- 1 teaspoon vanilla extract
- 1 ½ cups all-purpose flour
- ½ teaspoon baking soda
- ¼ teaspoon salt
- ½ teaspoon cinnamon optional
- Flaky sea salt for topping
Instructions
- In a large mixing bowl, beat together the softened butter, honey, and brown sugar until light and creamy. Add the egg and vanilla extract, mixing until smooth and well incorporated.½ cup unsalted butter, ⅓ cup honey, ⅓ cup brown sugar, 1 large egg, 1 teaspoon vanilla extract
- In a separate bowl, whisk together the flour, baking soda, salt, and cinnamon (if using). Gradually stir the dry ingredients into the wet mixture until a soft dough forms.1 ½ cups all-purpose flour, ½ teaspoon baking soda, ½ teaspoon cinnamon, ¼ teaspoon salt
- Cover the dough and refrigerate for 30 minutes. Chilling helps deepen the flavor and keeps the cookies from spreading too much during baking.
- Preheat oven to 350°F (180°C). Line a baking sheet with parchment paper.
- Scoop tablespoon-sized portions of dough and place them on the sheet, spaced about 2 inches apart. Bake for 10–12 minutes, or until the edges are lightly golden and the centers are just set.
- Right out of the oven, sprinkle the warm cookies with a pinch of flaky sea salt for the perfect salty-sweet contrast.Flaky sea salt
- Let the cookies cool on the pan for 5 minutes, then transfer to a wire rack to cool completely.
Notes
- Use softened butter: Let your butter sit at room temperature so it creams easily with the honey and sugar, giving your dough a smoother texture.
- Choose good quality honey: Clover honey is a great option—it’s mild, blends easily, and keeps the cookie flavor balanced.
- Spoon and level your flour: Too much flour can make the cookies dry—use the spoon-and-level method instead of scooping directly from the bag.
- Try pistachios in the dough: Their subtle crunch and mild nuttiness complement the honey flavor without stealing the spotlight.
- Go sweeter if you want: White chocolate chips pair nicely with honey and give the cookies a rich, buttery sweetness.
- Scoop evenly: A cookie scoop ensures consistent sizes so everything bakes evenly and finishes at the same time.
- Bake on the center rack: For even heat distribution, place one baking sheet at a time in the center of your oven.
- Remove while still slightly underbaked: If you wait until they look fully baked, they’ll likely be overdone once cooled and turn out dry. Let the residual heat from the pan finish the job—it’ll continue baking the cookies gently, keeping the centers moist and tender.
Nutrition
SERIOUSLY GOOD
DESSERTS!
Dessert First is a collection of 61 RECIPES to show you that you can make beautiful, impressive desserts right in your own kitchen, no matter your skill level.
Immediate eBook download. No physical book available.
Includes ad-free recipes like:
∙ Lemon Pound Cake
∙ Starbucks Cake Pops
∙ Boston Cream Pie
∙ Chocolate Mousse
∙ Matcha Tiramisu
...and much more!