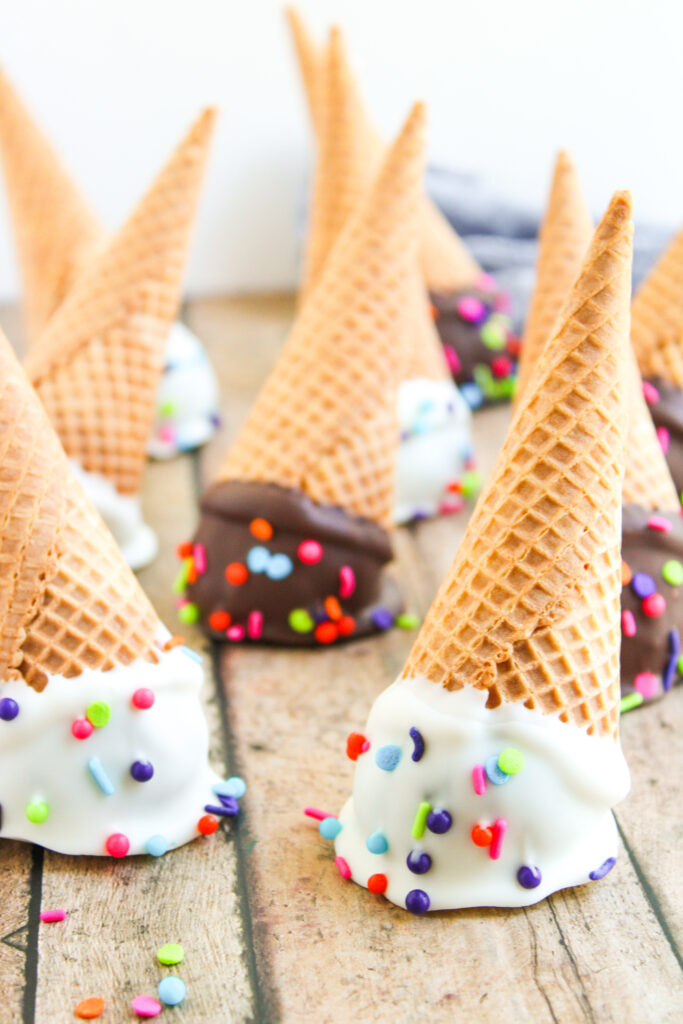
Melted Ice Cream Cake Pops are the kind of treat that makes people stop and ask, “Wait, is that real ice cream?” They’re not—but they sure look like it. Instead of lollipop or popsicle sticks, you’ll be using mini waffle cones that you can actually eat, which makes them even more fun. Just roll crumbled chocolate cake with frosting into balls, top each one with a cone, dip in chocolate, and finish with sprinkles. They’re playful, easy to make, and always a hit.
This post contains affiliate links. As an Amazon Affiliate, if you purchase through those links, I earn a commission. Thank you!
I love making these cake pops for birthday parties, school events, or anytime we have a group coming over—they’re fun to serve and easy for everyone to grab and eat. They don’t require anything fancy, and I can grab everything at the grocery store. You can also make them ahead, store a fresh batch or extras in the fridge, or even freeze them like real ice cream! Just thaw them before serving, and they’re ready for you to enjoy again.
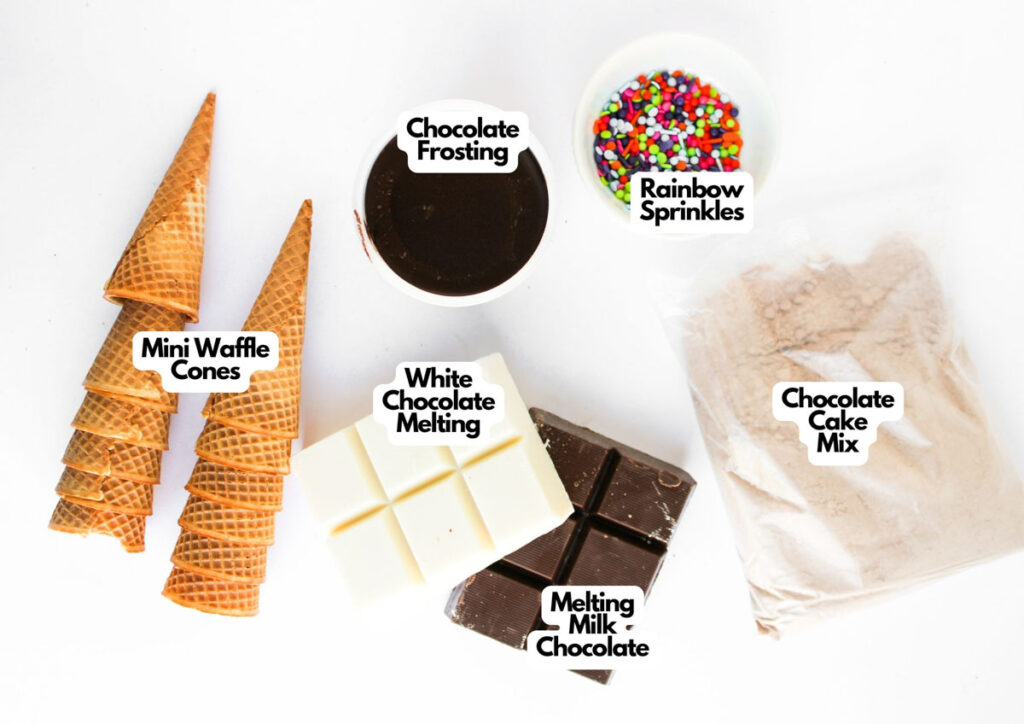
Ingredients You’ll Need
You’ll need all the ingredients shown in the photograph below.
How to Make Melted Ice Cream Cake Pops with Step-By-Step Instructions
Scroll down for the full recipe card containing a full printable recipe and measurements in both US customary and metric units.
You’ll find these cake pops easy and fun to make if you follow my clear, simple steps below.
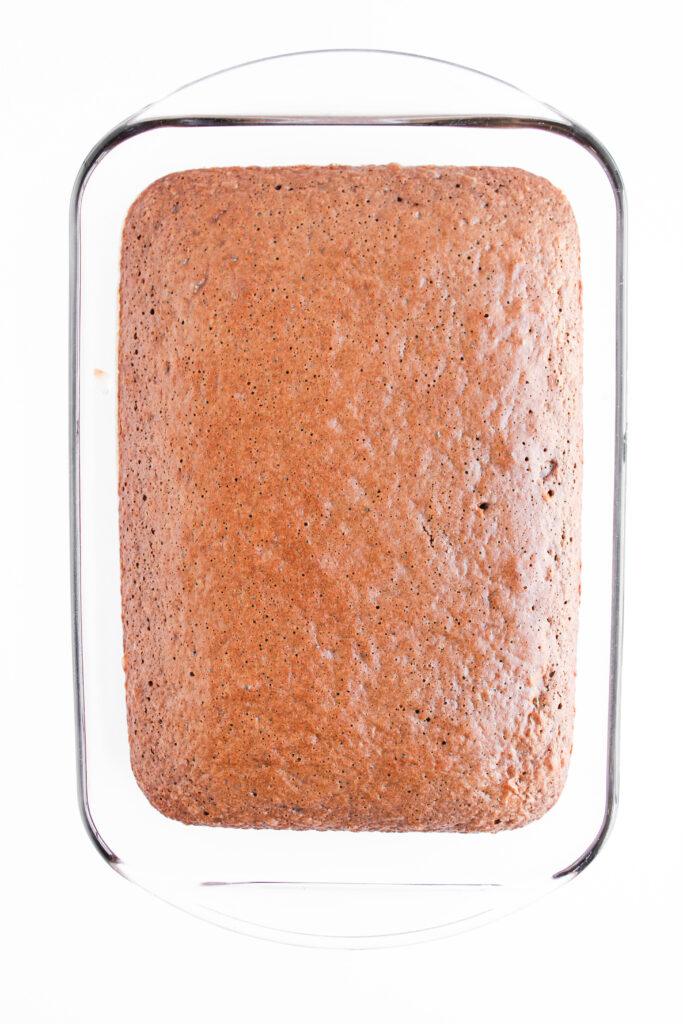
Bake and Cool the Cake
Prepare the boxed chocolate cake mix and bake just as the instructions say. Once it’s baked, let it cool completely on a wire rack. Don’t skip this part, or the texture won’t hold up later.
I let mine cool on this wide nonstick cooling rack that gives the cake plenty of room to breathe and cool evenly.
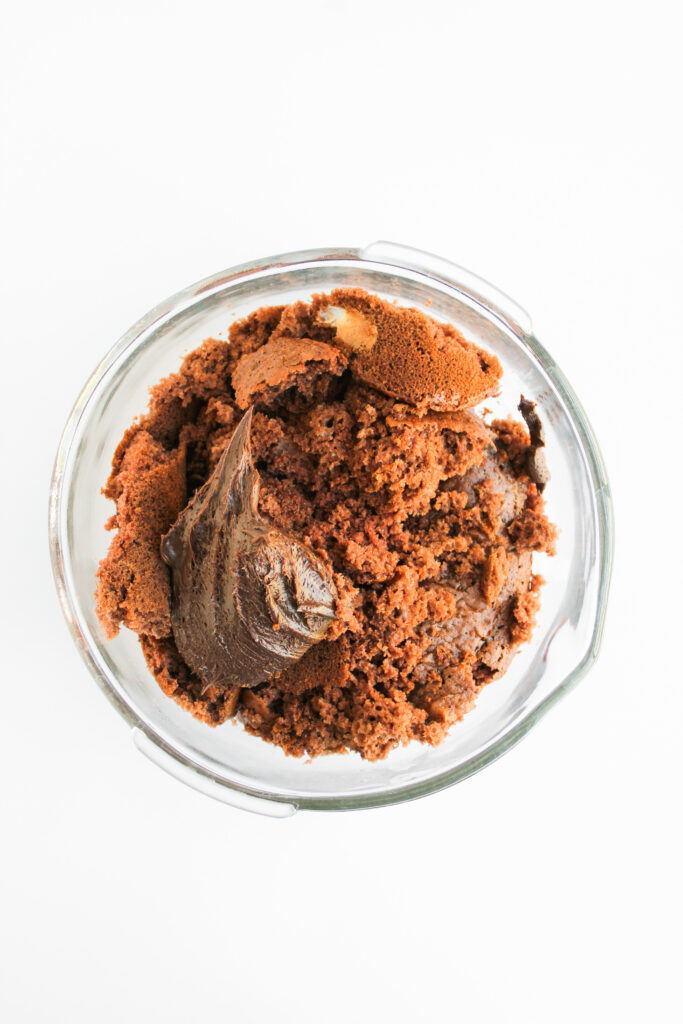
Crumble the Cake and Mix in Frosting
Grab a large bowl and break the cooled cake into fine crumbs using your hands or a fork. I use this deep non-slip mixing bowl so I’m not chasing crumbs all over the counter.
Pour the chocolate frosting and stir until the mixture becomes thick. You want it to easily stick together like a dough when pressed. A flexible silicone spatula really helps me blend everything without scraping up my knuckles.
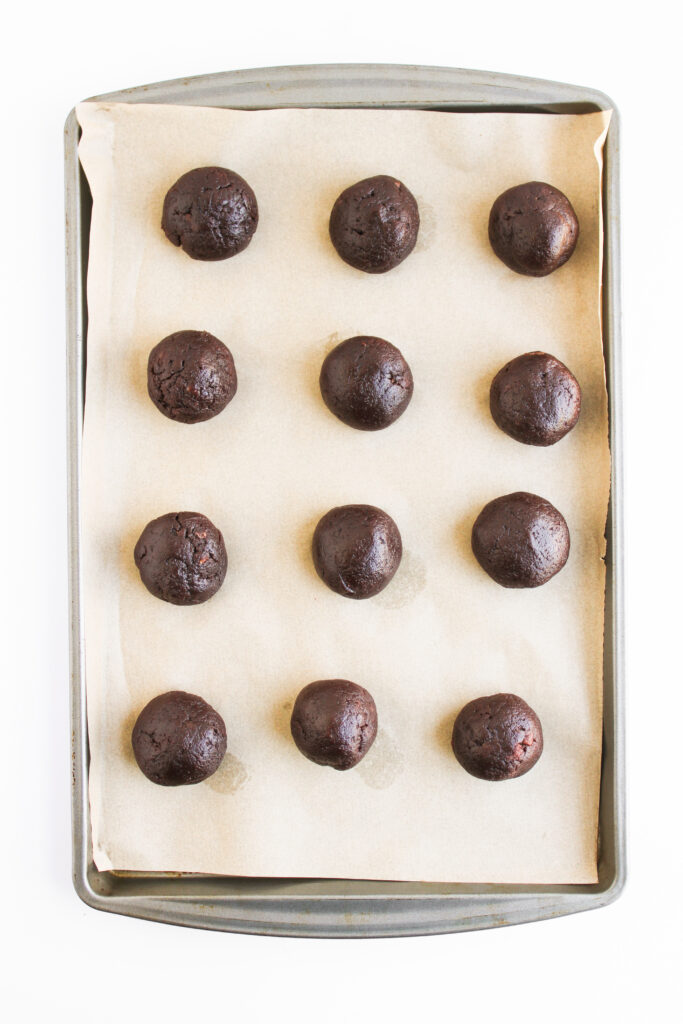
Roll into Balls and Freeze
Scoop and roll the mixture into 12 to 14 even-sized balls. I like using this cookie scoop to keep the size consistent and speed things up.
Place them on a parchment-lined baking sheet and pop them into the freezer for about 15 minutes so they firm up enough to hold their shape. I always keep a roll of unbleached parchment paper on hand so nothing sticks, and cleanup’s easy.
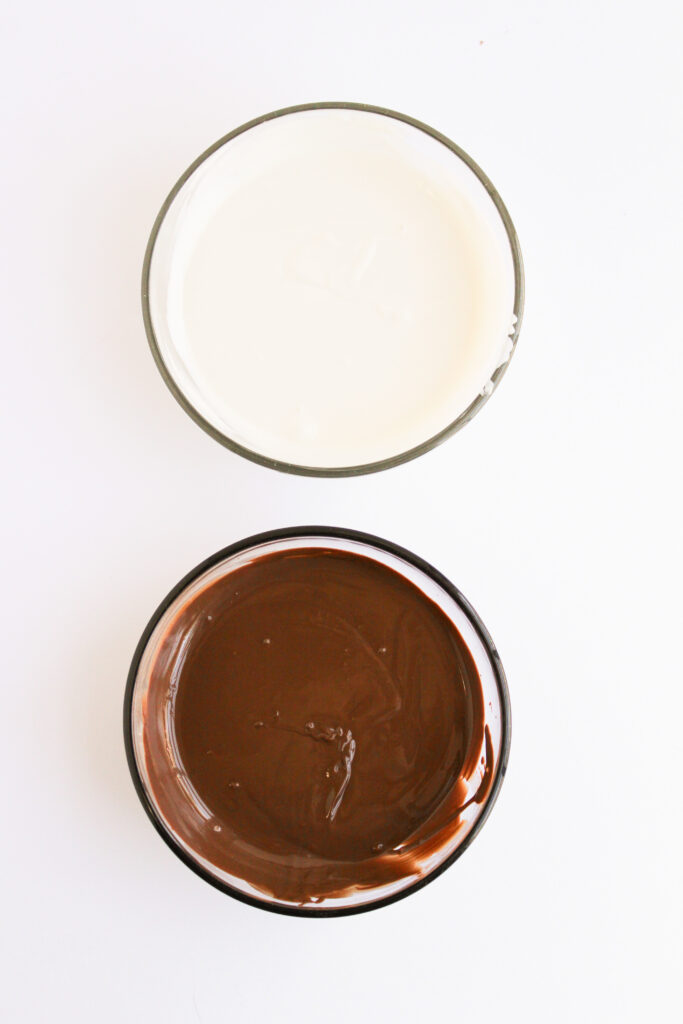
Melt the Chocolates
In separate bowls, melt the milk chocolate and white chocolate. I melt mine in these microwave-safe glass bowls—they’re heatproof, tempered, and super handy when you need to pour the chocolate smoothly.
Microwave in 30-second bursts, stirring between each round with a spoon to prevent the chocolate from burning. You’ll know it’s ready when it’s completely smooth and glossy.

SERIOUSLY GOOD
DESSERTS!
Dessert First is a collection of 61 RECIPES to show you that you can make beautiful, impressive desserts right in your own kitchen, no matter your skill level.
Immediate eBook download. No physical book available.
Includes ad-free recipes like:
∙ Lemon Pound Cake
∙ Starbucks Cake Pops
∙ Boston Cream Pie
∙ Chocolate Mousse
∙ Matcha Tiramisu
...and much more!

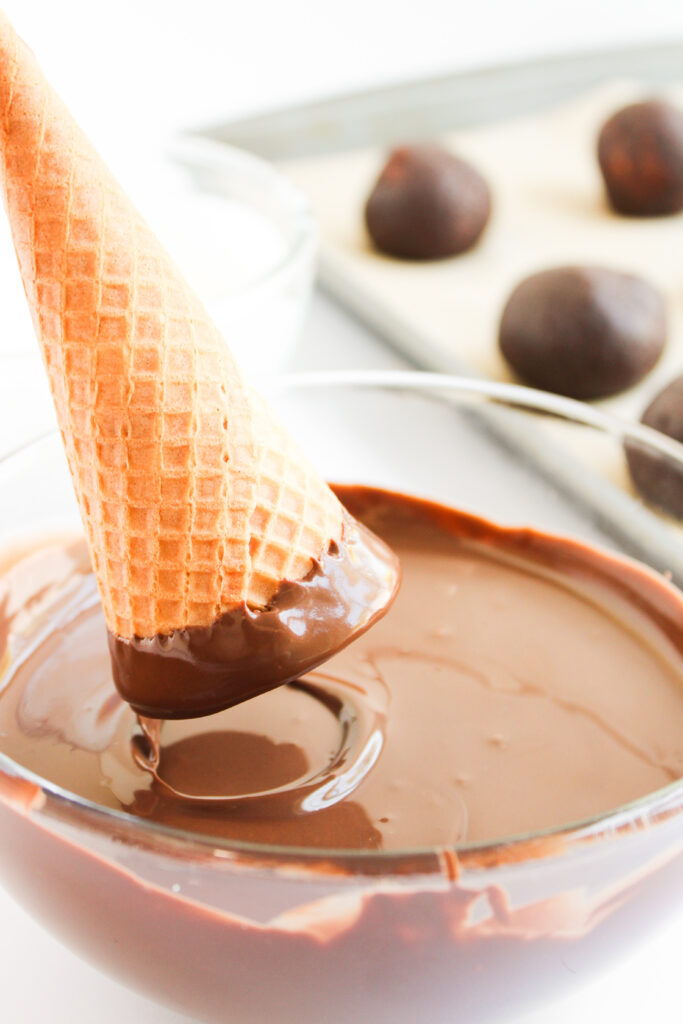
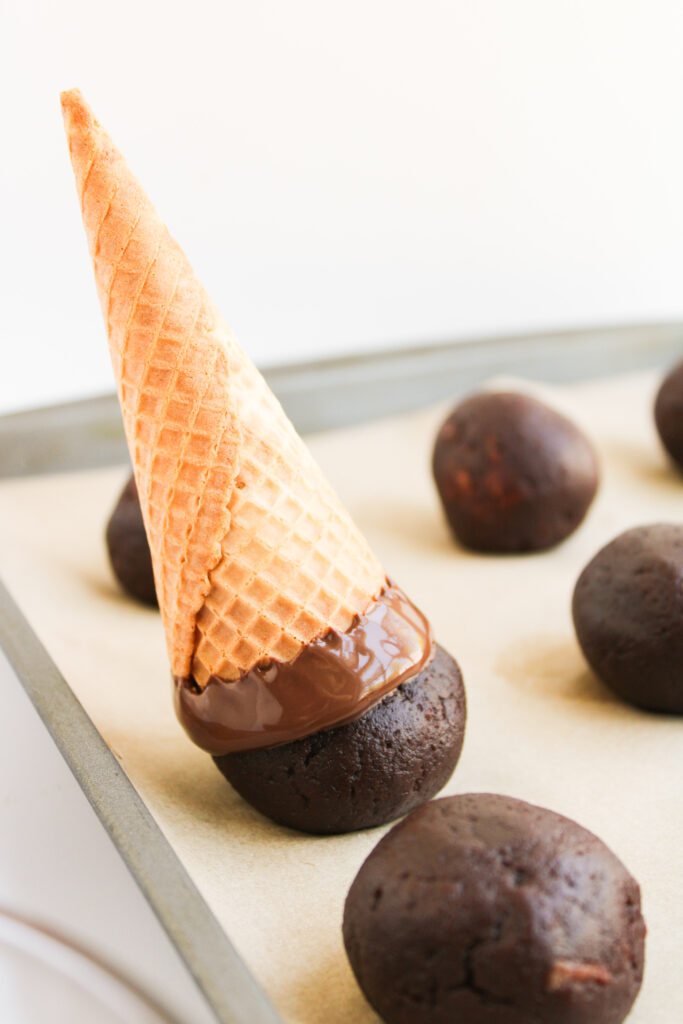
Attach the Cones
Dip the open end of each mini waffle cone into the melted chocolate while it’s still warm and smooth, not piping hot, but also definitely not when it’s already cooled and thickened. Gently press the cone onto each chilled cake ball and hold it there for a few seconds.
Be careful not to press too hard, or you might break the cone—they can crack easily. Let the chocolate set for a few minutes so the cone stays securely in place.
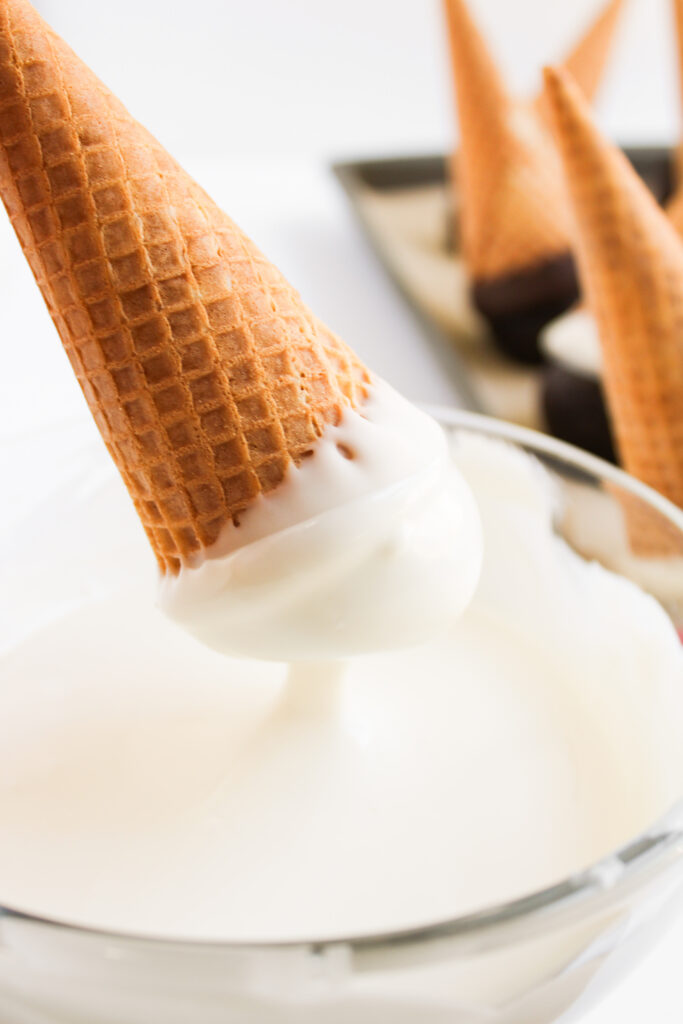
Dip and Decorate
Holding each pop by the cone, dip the cake ball cone side up into the melted chocolate. First half of the batch into milk chocolate, and the other half into white.
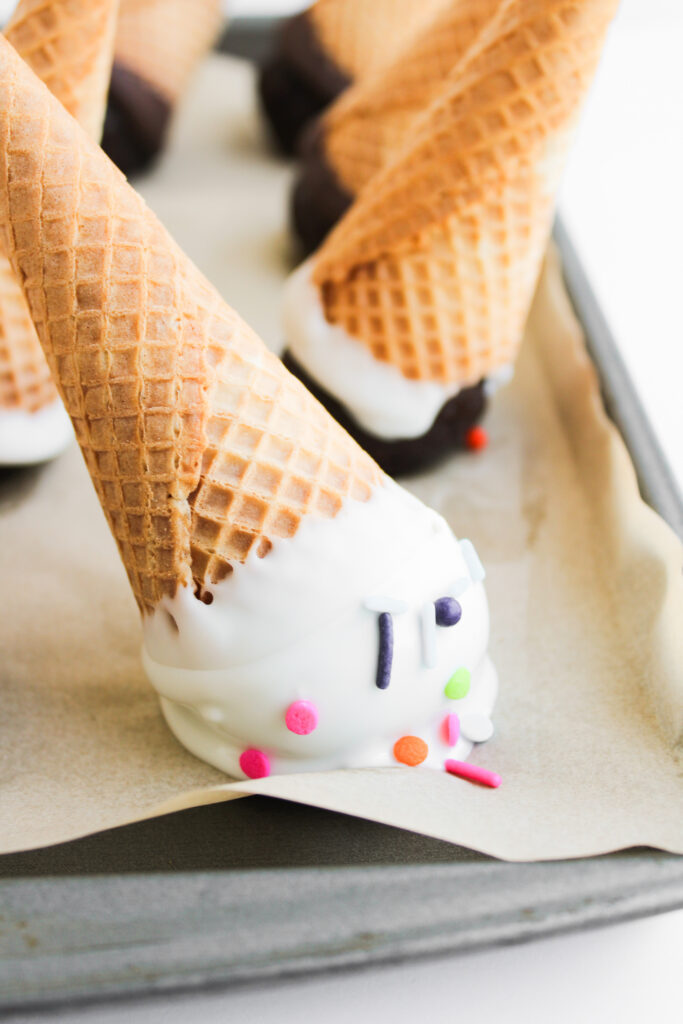
Place them back on the tray, pressing down slightly to create that “melting ice cream” look effect. While the coating is still soft, go wild with rainbow sprinkles!
Freeze Until Set
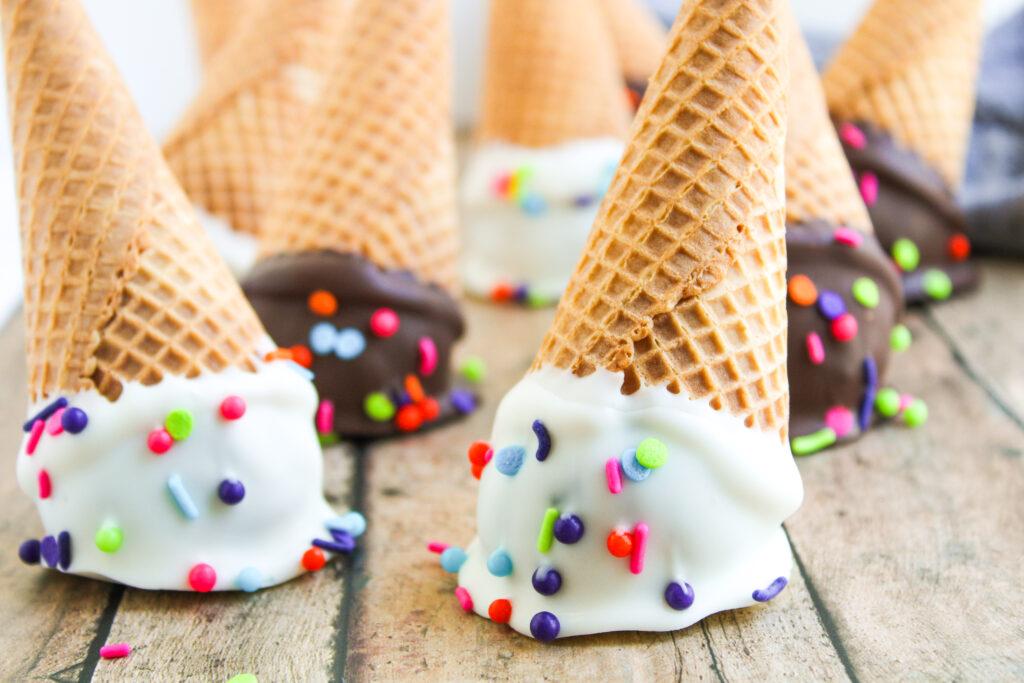
Stick the tray back in the freezer for about 10 more minutes so the chocolate sets completely. After that, they’re ready to serve, share, or snack on whenever the mood hits.
Enjoy your playful, melted ice cream treats!
If you’re taking them to school or a party, I like packing the cake pops into a sturdy cake carrier with a locking lid and handle so they don’t slide around or get squished on the way.

Recipe Notes and Expert Tips
I’ve made these ice cream pops using cake balls more than a few times, and here are the tips that help make them turn out great inside and out every time:
- Cool the Cake Fully First: If your cake is even slightly warm, the frosting will melt, and your mixture will be too sticky. Let it cool completely.
- Aim for Dough-Like Texture: The cake and frosting mixture should come together like soft dough—easy to mold and not crumbly. Add a bit more frosting if it’s too dry.
- Keep the Cake Balls the Same Size: Try to make all your cake balls similar in size so they hold the cones evenly and look uniform once dipped.
- Chill Before Dipping: Freezing the cake balls before attaching the cones or dipping makes the whole process neater and helps everything hold its shape.
- Add Color for Fun: If you want, stir a few drops of food coloring into the white chocolate before dipping. Soft pastels or bright neon can make the cake pops stand out even more.
- Let the Cone Base Set: Give the melted chocolate a few minutes to firm up after attaching the cake balls to the cones, so they don’t fall off during dipping.
- Add Sprinkles Right Away: Make sure to sprinkle while the chocolate is still wet, so they stick and stay in place.
- Work in Batches if Needed: If you’re decorating a lot, keep half the pops chilled while you work on the rest so they don’t soften too much at room temperature.

How to Store Leftovers
Place the cake pops carefully in an airtight container and keep refrigerated for up to 4 days. Use multiple containers if needed—just don’t pack them too tightly, so nothing gets crushed and everything stays whole and intact.
I use this set of stackable containers that fit the pops perfectly and seal tight. If you want to freeze them, place them on a tray and freeze until solid, then transfer to a freezer-safe bag or container. I like using these thick reusable freezer bags that stay upright and keep out frost.
They’ll keep well for up to 3 months. Just thaw them overnight in the fridge before serving, and note that the cones might lose a little crunch in the fridge or freezer, but they’ll still taste great and hold their shape.
What to Serve With Melted Ice Cream Cake Pops
These cake pops go well on a dessert table with cookies, mini brownies, chocolate-covered pretzels, or honey waffles. If you want them with actual ice cream, go ahead—pair them with vanilla ice cream, strawberry ice cream, or any other ice cream flavors you love.
You can also sprinkle them with chopped nuts or crushed Oreos, or serve them with sweet snack mixes on the side to round things out. They’re a great match for mango milkshakes, root beer floats, or birthday cupcakes, too.
More Easy Recipes for You to Try at Home
I’ve got more fun, colorful, and crowd-friendly favorites if you’re in the mood for sweets and feeling creative:
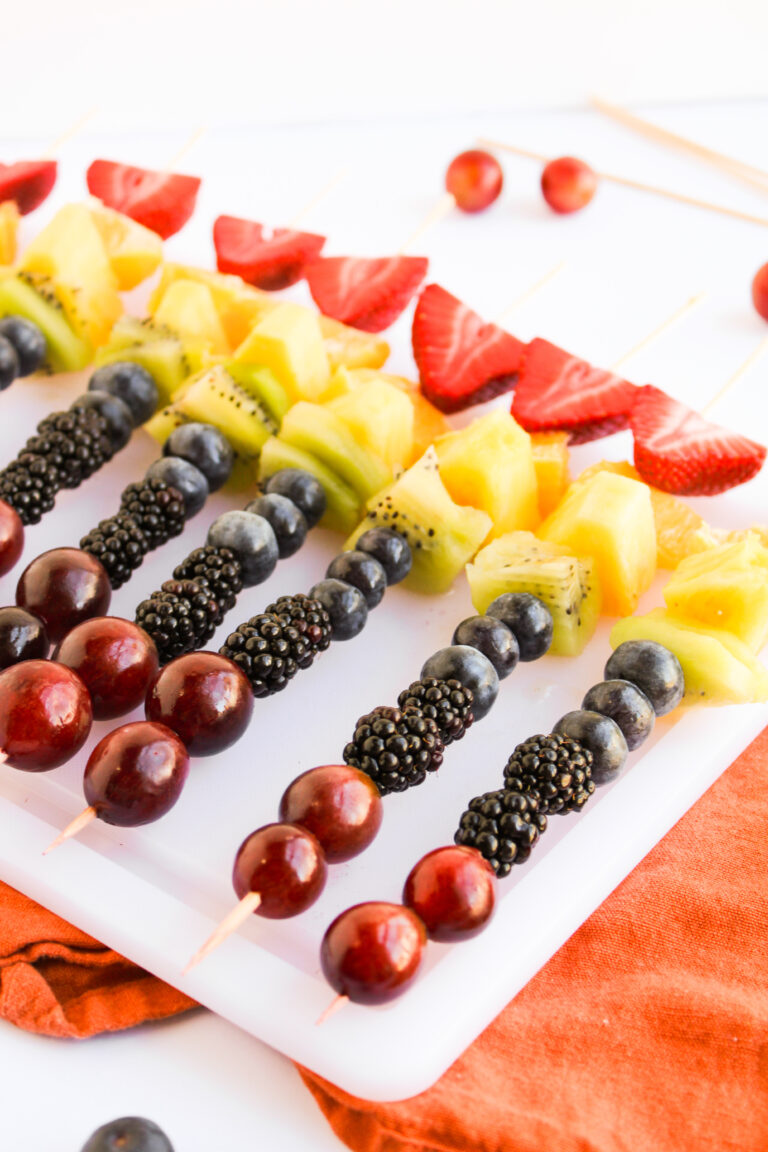
- Rainbow Fruit Skewers
- Raspberry Cheesecake
- Strawberry Shortcake Ice Cream
- Sourdough Waffles
- Blueberry Cheesecake
Did you make this recipe? We’d love to know! Please leave a 5-star review below (it really helps!) and tag and follow us on Pinterest and Facebook for more tasty inspiration!

Melted Ice Cream Cake Pops
Equipment
Ingredients
- 1 box chocolate cake mix plus ingredients listed on the box
- 12-14 mini waffle cones
- 10 ounces white melting chocolate
- 10 ounces melting milk chocolate
- ¾ cup chocolate frosting
- Rainbow sprinkles
Instructions
- Prepare and bake the chocolate cake according to the box instructions. Let it cool completely.1 box chocolate cake mix
- Crumble the cooled cake into a large bowl. Add the chocolate frosting and mix until the mixture sticks together like dough.¾ cup chocolate frosting
- Roll into 12–14 equal balls and place on a parchment-lined baking sheet. Freeze for 15 minutes to firm up.
- Melt the milk chocolate and white chocolate in separate bowls (30-second intervals in the microwave, stirring until smooth).10 ounces white melting chocolate, 10 ounces melting milk chocolate
- Dip the open end of each waffle cone into melted chocolate, then press gently onto a cake ball. Let them set until firm.12-14 mini waffle cones
- Once cones are secure, dip each cake ball (cone side up) into melted chocolate—choose white or milk chocolate.
- Place back on the tray and press down slightly to create the “melted” look. While the chocolate is still soft, decorate with rainbow sprinkles.Rainbow sprinkles
- Freeze the cake pops for 10 more minutes to set completely. Then serve and enjoy your playful melted ice cream treats!
Notes
- Cool the Cake Fully First: If your cake is even slightly warm, the frosting will melt, and your mixture will be too sticky. Let it cool completely.
- Aim for Dough-Like Texture: The cake and frosting mixture should come together like soft dough—easy to mold and not crumbly. Add a bit more frosting if it’s too dry.
- Keep the Cake Balls the Same Size: Try to make all your cake balls similar in size so they hold the cones evenly and look uniform once dipped.
- Chill Before Dipping: Freezing the cake balls before attaching the cones or dipping makes the whole process neater and helps everything hold its shape.
- Add Color for Fun: If you want, stir a few drops of food coloring into the white chocolate before dipping. Soft pastels or bright neon can make the cake pops stand out even more.
- Let the Cone Base Set: Give the melted chocolate a few minutes to firm up after attaching the cake balls to the cones, so they don’t fall off during dipping.
- Add Sprinkles Right Away: Make sure to sprinkle while the chocolate is still wet, so they stick and stay in place.
- Work in Batches if Needed: If you’re decorating a lot, keep half the pops chilled while you work on the rest so they don’t soften too much at room temperature.
Nutrition
SERIOUSLY GOOD
DESSERTS!
Dessert First is a collection of 61 RECIPES to show you that you can make beautiful, impressive desserts right in your own kitchen, no matter your skill level.
Immediate eBook download. No physical book available.
Includes ad-free recipes like:
∙ Lemon Pound Cake
∙ Starbucks Cake Pops
∙ Boston Cream Pie
∙ Chocolate Mousse
∙ Matcha Tiramisu
...and much more!